We all know how a fresh coat of paint can change the entire ambiance of a room. But are you planning to apply it yourself this time?
Applying primers and paint can be a difficult task if you have never done it before. And one of the common queries refers to the time needed for a primer to dry before beginning the painting process.
Having said that, it is absolutely essential that you allow the primer to dry fully before applying another layer. Otherwise, it might destroy the entire surface and lead to marks.
That would mean sanding the entire wall and beginning again, which would make the procedure extremely time-consuming. Not to forget all the effort that will have to be put in to do it over again.
To make it easier, we have discussed in this guide the key considerations regarding primers and how long one should wait for them to dry before painting. So, dive in!
How Long Should Primer Dry Before Painting?

If you are a DIY enthusiast who wants to take on a complete painting project, then knowing everything about the materials you are using is important. This involves knowledge about the kind of primer, sanding process, surrounding temperature, and the kind of surface that has to be painted.
These are determining factors that will affect the time taken to paint. Also, begin by sanding the wall as a smoother surface will ensure that paint dries faster. In case the surface is rough, you might need to apply double coats of primer to ensure that you get a plain finish.
What Is The Kind Of Surface That You Need To Paint?
We have heard many people say that different surfaces take different lengths of time to dry after you apply paint to them. But we believe that this is a misconception that we should try to avoid.
Now, yes, wood and concrete have separate thermal features, and there might be a slight difference in the drying time, but it is more or less similar.
A primer will take 30-45 minutes (on average) to dry in both cases. We will just recommend that you check the back of the pack to know if that specific primer is suitable to be applied to your wall, which needs painting.
What Is The Kind Of Primer That You Are Using?
This is a very crucial consideration when it comes to drying as the kind of formula will determine the amount of time taken. Now, there are 2 main types of primers, which include the oil-based and water-based ones.
First of all, let’s talk about the oil-based formula, which is generally more difficult to work with. This is because it takes a longer time to dry, and you have to wait for an entire day before being able to apply the second coat. It is time-consuming, but oil-based paints are thicker and known to be very durable.
On the other hand, water-based options are easier to apply and will dry within hours. Some can even dry within a single hour, and you can apply a second coat after that. If you live in a very humid area, it is best to choose this type as it will dry faster.
There is another type of primer that is latex-based, and it is also commonly available. This is the most simple type, and many end up using it because of its large-scale availability.
Supplies Needed Before Beginning The Painting Process
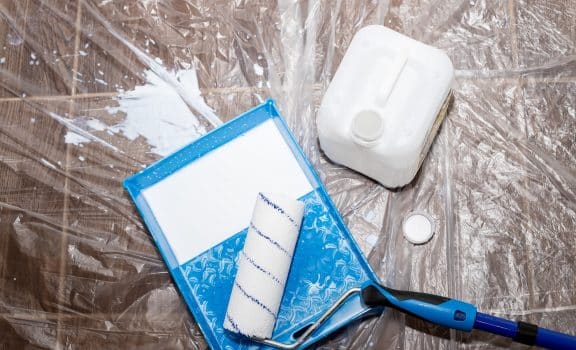
Primer is generally easy to apply, but you will need all the supplies before beginning. We have listed them down here, and we will recommend making a note of it so that you have everything that you may need in one place. These include:
- Good quality brush or roller
- Can of primer
- Large paint tray or trays depending on your need
- Nitrile gloves for protecting the hands
- Masking tape to keep the switchboards safe
- Protective wear, including mask
- Protective eye goggles
- Pieces of sandpaper
- Cloth to wipe when necessary
- Paint of your favorite color
Remember that sanding might not be required in every case, and smooth walls seldom need to be sanded after applying primer. We will suggest that you purchase the primer first and then read the back of its pack. If it suggests sanding, then only get sandpaper. Otherwise, you can skip that item.
Also, purchase high-quality primers if there are dark spots on the wall that you need to hide. If the quality is good, you might not have to apply a second coat saving time and effort.
Steps To Applying Primer
In this section, we have listed the steps that will lead to the proper application of primer/ This will help you understand the amount of time it would take to dry. Read on to know more about it.
Step 1| Application
Before you begin with the process of application, take out the safety gear and ensure that you have put it on. This would include your eyewear, nitrile gloves, outerwear, and mask. These should be worn even before you begin the preparation of the area to prevent any issues with your nasal passage or skin.
Next, place a tarp around on the floor, so that paint splashes do not touch it. The tarp will also save you from having to clean the entire area afterward. In the places where you cannot put the tarp, use masking tape. This works well with baseboards, power outlets, and wire coverings.
After this, you can take out the can of primer and shake it well before use. The shaking is extremely important to ensure an even consistency. Once you open it, take a stirrer and stir the liquid to check if it has mixed well. The paint can be transferred to a tray where it can be easily accessed with a roller or a brush.
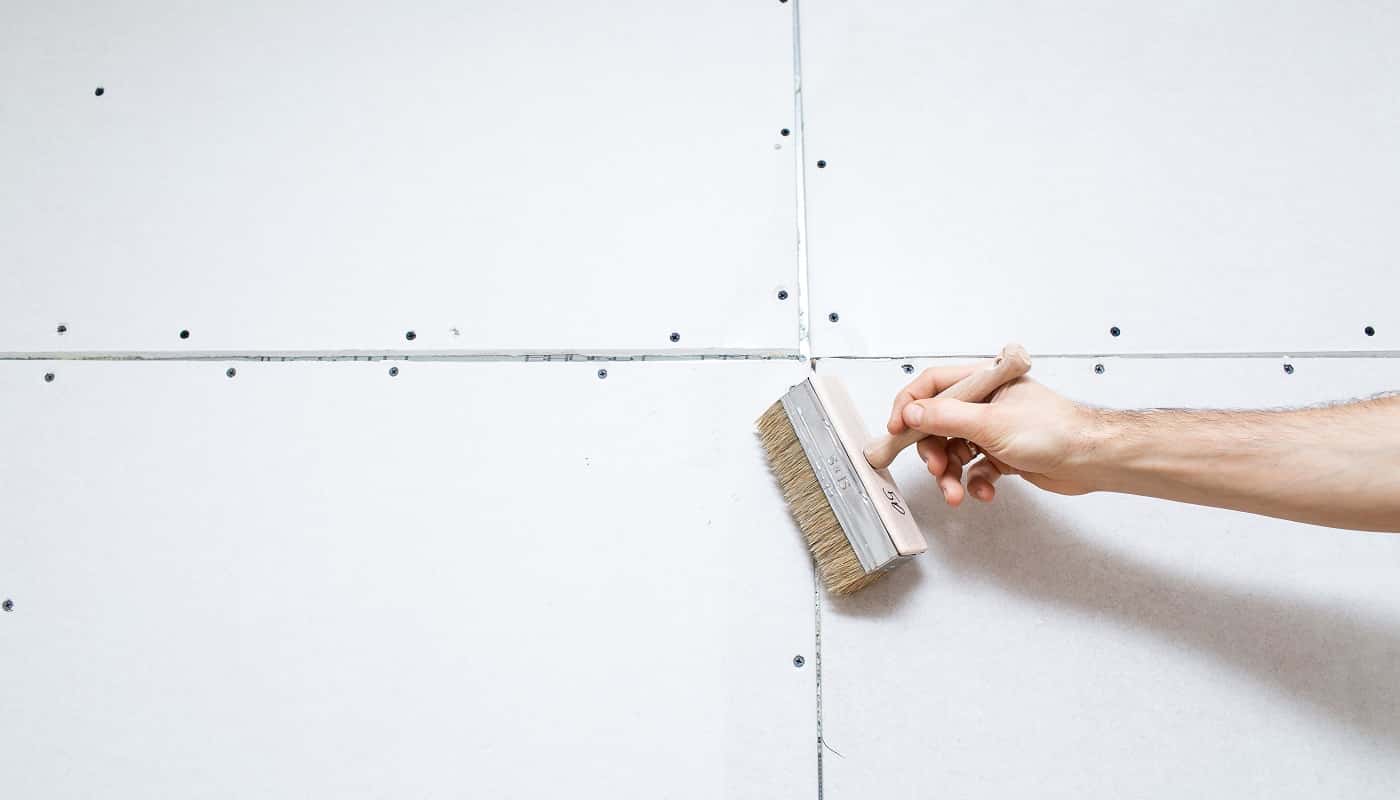
Now you are finally ready to begin the application process and once you have the first coat of primer, check for missed sections. If you wait for a long time, then applying can be difficult as the parts may stand out from the rest of your wall’s surface. Also, this is the stage where you need to check for drips and remove them immediately to prevent marks.
Step 2| Waiting Time
Once you have applied a thick layer of primer on the wall and ensured every part is covered, it is time to wait. The waiting time will depend on how long the primer takes to dry. In most cases, the surface would dry within 30 minutes, and you can wait another 30 minutes before applying the second layer of primer or paint.
Remember that some primers may take more time to dry, and hence, the best way is to keep touching the layer to see if it is wet. It should not come off on your finger, and then you will understand if it has dried.
We always wait for another 30 minutes after it dries to touch just to ensure that the surface is perfectly ready for the next layer.
Step 3| Sanding
Sanding is not always necessary if the wall is smooth, but it might be required in the case of very porous or rough surfaces. This is also good when the surface is not ready to entirely accept the primer. In this case, you can sand the surface well before applying another coat. Wait for an hour in between before proceeding with paint.
This is generally mandatory for porous surfaces as they will ensure that the paint sticks to the walls well. So, if you plan to apply a second layer, sand once the first coat of primer has dried and then repeat the painting process again.
Environmental Conditions To Consider
When you are trying to understand the amount of time needed for the primer to dry, you should take into account certain elements. This includes the surrounding area’s temperature and humidity. These are two determining factors that can cause differences in the time taken and can both lengthen or shorten it.
Now, the best temperature for painting is near about 70 degrees Fahrenheit with a humidity level of 50%. If the humidity is higher than this, then that can lengthen the drying time, while if humidity is lower, then it could help in drying quickly. This is because of the presence of excess moisture content in the air that manages to slow this process down.
Also, keep in mind that the temperature is less significant when compared with the humidity level. On a cold and dry day, the primer will dry up faster than on a hot and humid day. If you have a fan or an air conditioner in the same room, you can use it to quicken the process.
Put your air conditioner on dry mode, and it will take away most of the moisture content from the room. But we will only recommend this if you are in a hurry as this is not a cost-effective process.

Final Thoughts
We have reached the end of our comprehensible guide, and by now, you know how to apply primer properly and ensure that your DIY project is a success. Always remember that the entire wall needs to be dry before applying any kind of paint; otherwise, you might see streaks or marks on the wall.
Also, be careful about the brand that you are opting for, and we will always recommend purchasing a good quality primer even if it is slightly more expensive. You will not be painting often, so this is worth investing in.
With this, we will take your leave, and you can let us know about any further queries in the comment section below. We hope you have fun painting!
Related Articles
How To Paint Without Leaving Brush Strokes
How To Paint Aluminum [Step by Step]
10 Best Paint Primer For Drywall
10 How to Remove Spray Paint from Concrete
How To Remove Spray Paint From Plastic
How Much Does It Cost To Paint A Car?
9 Best Paint Roller To Hide Paint Defects
7 Best Paint Brushes For Trim [Review & Buyer’s Guide]
7 Best Primers To Cover Dark Paint
13 Best Professional Airless Paint Sprayer
How Much Does A Maaco Paint Job Cost?
The 7 Best Paint Sprayers for Chalk Paint
13 Best Air Compressors | Buyer’s Guide and Reviews
Paint Sprayer Vs. Roller [All You Need to Know]
Learn How to Remove Paint From Brick
13 Best Automotive Paint Gun for Beginner
7 Best Paint Stripper For Metal [Tested]
9 Best Paint Brush For Polyurethane
7 Best Primers For Covering Red Paint


