It is essential to know how to change the lines when required for ensuring that your weed eater functions effectively at all times. And to do that, you will have to place the line correctly and adjust the spool so that you don’t face any unwanted interruptions.
Whether you are handling the best 4-cycle weed eater or a regular one, changing the lines is inevitable. But as a beginner, you might face some problems putting the line on your weed eater. That’s why we are here with the top tips that will make your task easy.
Follow the steps, and you will be able to install a string on a weed eater without much fuss.
How To String A Weed Eater Or Change The Line On A Weed Eater?

1. Preparing The Weed Eater String
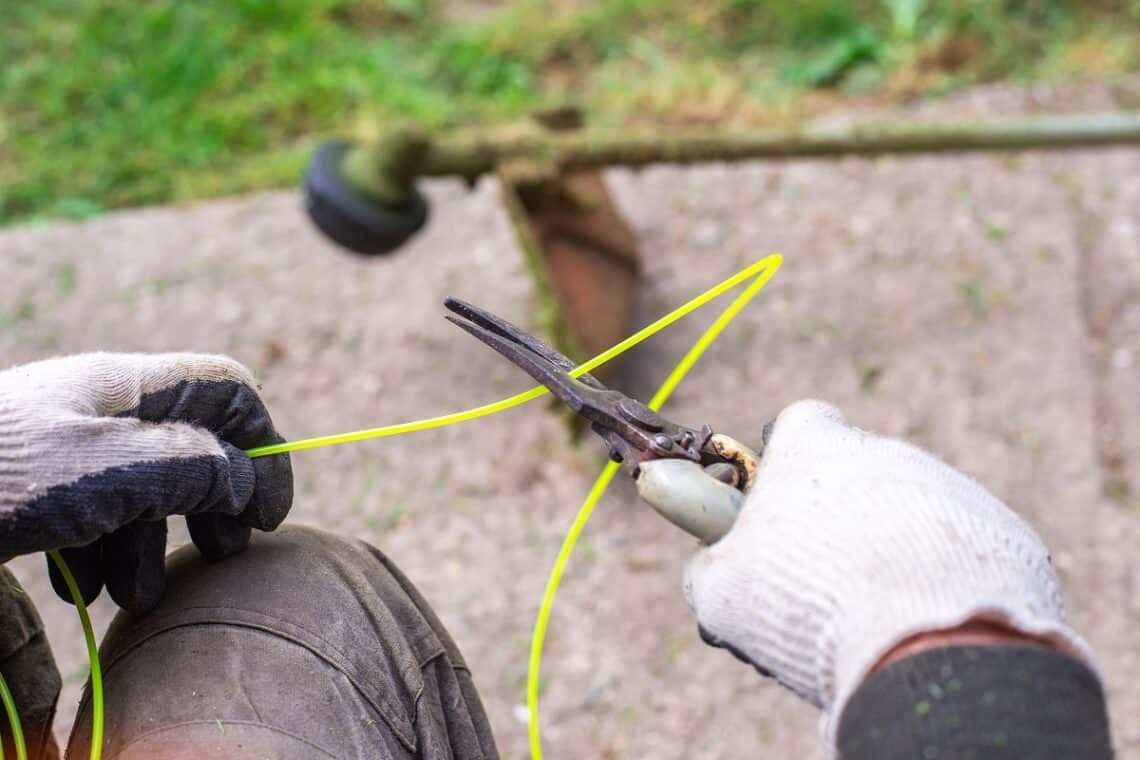
Depending on the kind of weed eater you are handling, you will first need to determine what width and length of the line will be suitable. If you end up purchasing a string trimmer line of the wrong dimensions, you will face a hard time making the trimmer work. The bottom line: guesswork is not the correct way to go about it!
In case you are unsure of the right line size needed for your weed eater, simply look for the details in the user manual or on the manufacturer’s website. If you are unable to find the much-needed information, you can call the customer support of the brand to confirm the correct length of the line required for the particular model.
We suggest that you keep some extra inches before you cut the string. If the line ends up being too long, you can always trim it to get the exact length .
2. Turn Off The Engine On The Trimmer Head
Once you are done deciding on the length of the line, it is time to proceed with working on the trimmer.
But when you are working with any electrical equipment, maninting your safety should be of utmost importance. And working as a weed eater is no different. Hence, it is an absolute must to ensure that the engine is switched off. If there is an additional gearbox on the unit, allow it to cool down adequately before touching the machine. This won’t, however, be needed if you are working with gas-powered weed eaters.
3. Take The Cap Off The Trimmer Head
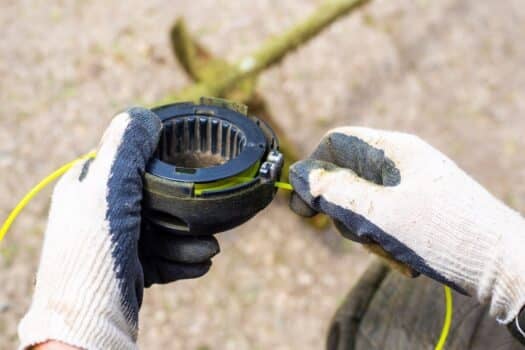
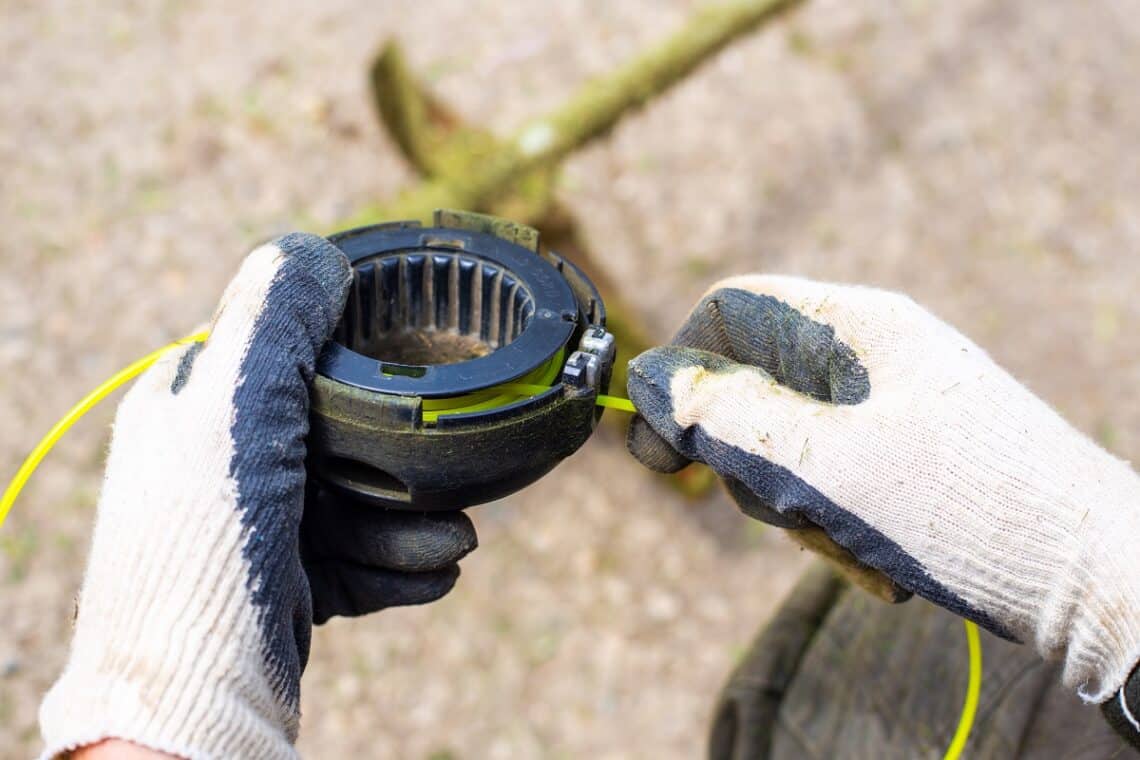
The next step in the process is to unscrew the trimmer head and remove it from the device. For most weed eaters, you will either have to press on a few tabs or unscrew them. But for some models, you may have to use a combination of the two processes.
However, a few recent models offer new mechanisms to remove the spool. Although these techniques are meant to be intuitive, many users find it difficult. If you face the same problem, especially when handling something heavy-duty like the best commercial 4-cycle weed eater for large lawns, we suggest that you contact the manufacturer.
4. Reach The Starter Hole In The Spool
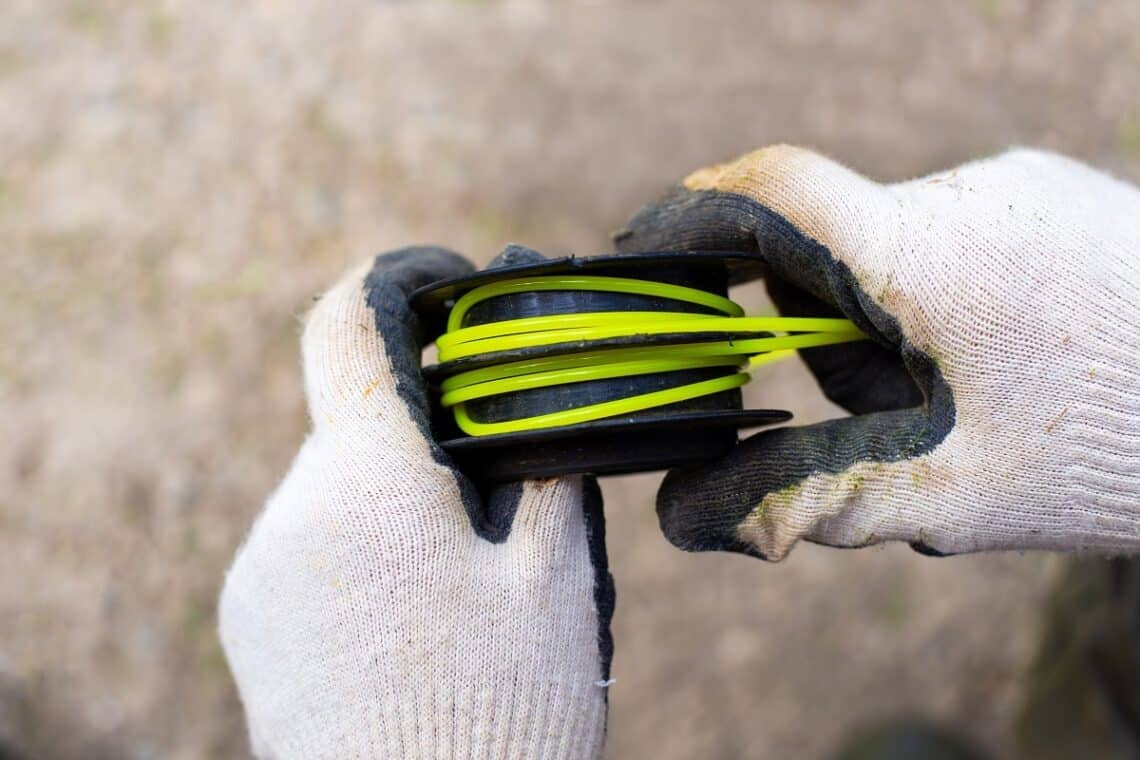
When you are trying to put a new string on a spool, always try to follow the direction of the arrows printed on it. Once you get to the starter hole, put the trimmer line through it and wind the line by following the direction of the arrows.
To ensure that you do not face the issue of jamming later, it is best to stay cautious while putting the line. And make sure that the line is wrapped neatly in proper straight rows.
Next, put it in the spool retainer when there are around five to six inches of string remaining. This will help ensure that the line remains secure.
5. Line Up The Slot And The Retainer
Finally, it is time to check how smoothly the new string line is working. And to do that, we’d suggest removing the string from the retainer and trying to pull it through the slot. This will help you see if the line is working smoothly or needs to be worked on. And lastly, do not forget to attach the retaining cap.
For installing the strings on a double line trimmer, simply repeat the entire process that we have mentioned above for the second string.
Some Other Things To Keep In Mind
How To Make Weed Eater Strings Last Longer
If you are wondering how to use a weed eater so that it lasts the longest, then the answer to that will be ‘by taking care of the string.’ And when you are trying to enhance the lifespan of a line on a weed eater, it is important to keep the things mentioned below in mind.
Firstly, always follow proper techniques when using a weed eater. Most models come with a detailed user manual that will take you through the right way of handling the unit in different situations. And you should follow the instructions to the tee to ensure that the string doesn’t encounter any unnecessary damage.
Also, you must take note of the spool size before purchasing the string. Remember that not every model comes with the same spool size, and the string will only see the end of its time if it’s completely compatible with the spool.
Apart from the two factors mentioned above, you will need to take the string length, style, and brand into consideration. All of these have a considerable impact on how a string can survive without needing to be replaced by a new line.
How Weather Conditions Affect The Strings Of A Weed Eater
The weather of your area will definitely impact the longevity of the string, more so when you leave the weed eater outdoors for too long. Remember that direct sunlight can have a detrimental impact on your string, especially during the summer months.
To avoid this problem, you can keep the weed eater away from the sun when it’s not in use.
A pro tip here: One of the best ways to combat drying strings during summers is to soak the strings in water. This will keep the lines smooth and make sure you have a great weed-whacking session whenever you use the tool.
How The String Shape Affects The Efficiency Of The Trimmer
It’s not just the length and thickness of the line that determines how well a weed eater will function. Apart from the string size, the shape of the line has a significant role to play in the overall efficiency of the tool. Even trimmer strings of identical lengths can give different results because of their shapes.
On that note, the most common shapes on the market include twisted, round, square, serrated and star. Most beginners start with the round trimmer lines because they are readily available. But the problem with using a round line is that instead of cutting the weed and grass, it tends to rip them off the ground.
If you are looking for a line with a better cutting edge, it is best to opt for a twisted line. However, this isn’t the only option for tackling the said problem. You can even consider using a square or star-shaped trimmer line to ensure the grass is cut and not snapped.

How To String A Weed Eater Final Words
Not all weed eaters are the same; hence, the exact procedure of changing the line can vary slightly from one model to another. For example, if you are working with a self-winding trimmer head, you will have to put the entire length of the spring through the spool. And only by rotating the head will you be able to wind the line.
But no matter the model, make sure that you check for damages that might have occurred to the trimmer while changing the line. Also, do not forget to clean up the tool regularly to ensure that it lasts longer.
With that, it’s time for us to say goodbye. We hope you have enjoyed reading this guide and are now better equipped to string a weed eater.
Check out our other guide on “are bidet cold,” and do not forget to keep a watch on this space for more exciting reads. See you another day!


