

Using a thermal imaging camera well is mostly preparation: the survey succeeds or fails on conditions and setup before the trigger is ever pulled, because a thermal image taken at the wrong time, with the wrong settings, documents nothing except the operator’s hurry. This guide covers the working sequence professionals follow — when to survey, how to configure the camera, how to walk a building, and how to document findings that survive scrutiny. The concepts behind the settings live in our guide to what thermal imaging is, and turning the resulting images into diagnoses is the subject of how to read a thermal imaging camera; this page is the workflow between them.
Conditions Before Cameras
Building thermography photographs temperature differences, so the first requirement is that a difference exists: a sustained gap between indoor and outdoor temperature, held for hours before the survey so the structure itself — not just the air — has taken on the contrast. A working convention many inspectors follow is a difference on the order of 10 °C (about 18 °F); the larger and longer-held the gap, the louder every defect reads, which is why heating season and high summer are the survey seasons and mild spring afternoons are the dead zone.
Timing within the day matters nearly as much, because the sun is a contaminant: solar loading heats exterior surfaces into patterns that mask the subtle differences an inspection hunts, and the effect lingers for hours after the light leaves a wall. Professionals schedule exterior work for pre-dawn, evening, or overcast conditions — the physics of why darkness flatters the instrument has its own explainer in why thermal cameras work better at night — and treat a sun-struck façade as unreadable until it settles. Two more conditions to check before leaving: wind, which scrubs surface temperature differences off exteriors and weakens every signature, and recent rain, which leaves evaporative cooling patterns that mimic the moisture findings a survey exists to catch.
Set Up the Camera
Three settings decide whether the numbers mean anything. Emissivity comes first: the default of 0.95 suits painted, wooden, and masonry surfaces, and needs adjustment — or a patch of matte tape on the target — before any reading on bare metal. Reflected apparent temperature comes second on cameras that offer it, telling the processor what the surroundings are contributing to shiny surfaces. Focus comes third and forgives nothing: a thermal image focused wrong is blurred data, no software sharpens it afterward, and focusing every composition, every time, separates usable surveys from colorful ones.
Then the presentation defaults: ironbow palette for the walk, automatic span for scanning — and a deliberate switch to locked span the moment two areas need comparing, so the camera stops re-stretching its colors between frames. Let the camera acclimate to the survey environment for several minutes after moving between temperature zones; a camera carried from a warm van into a cold attic needs time before its readings settle.
The Survey Walk
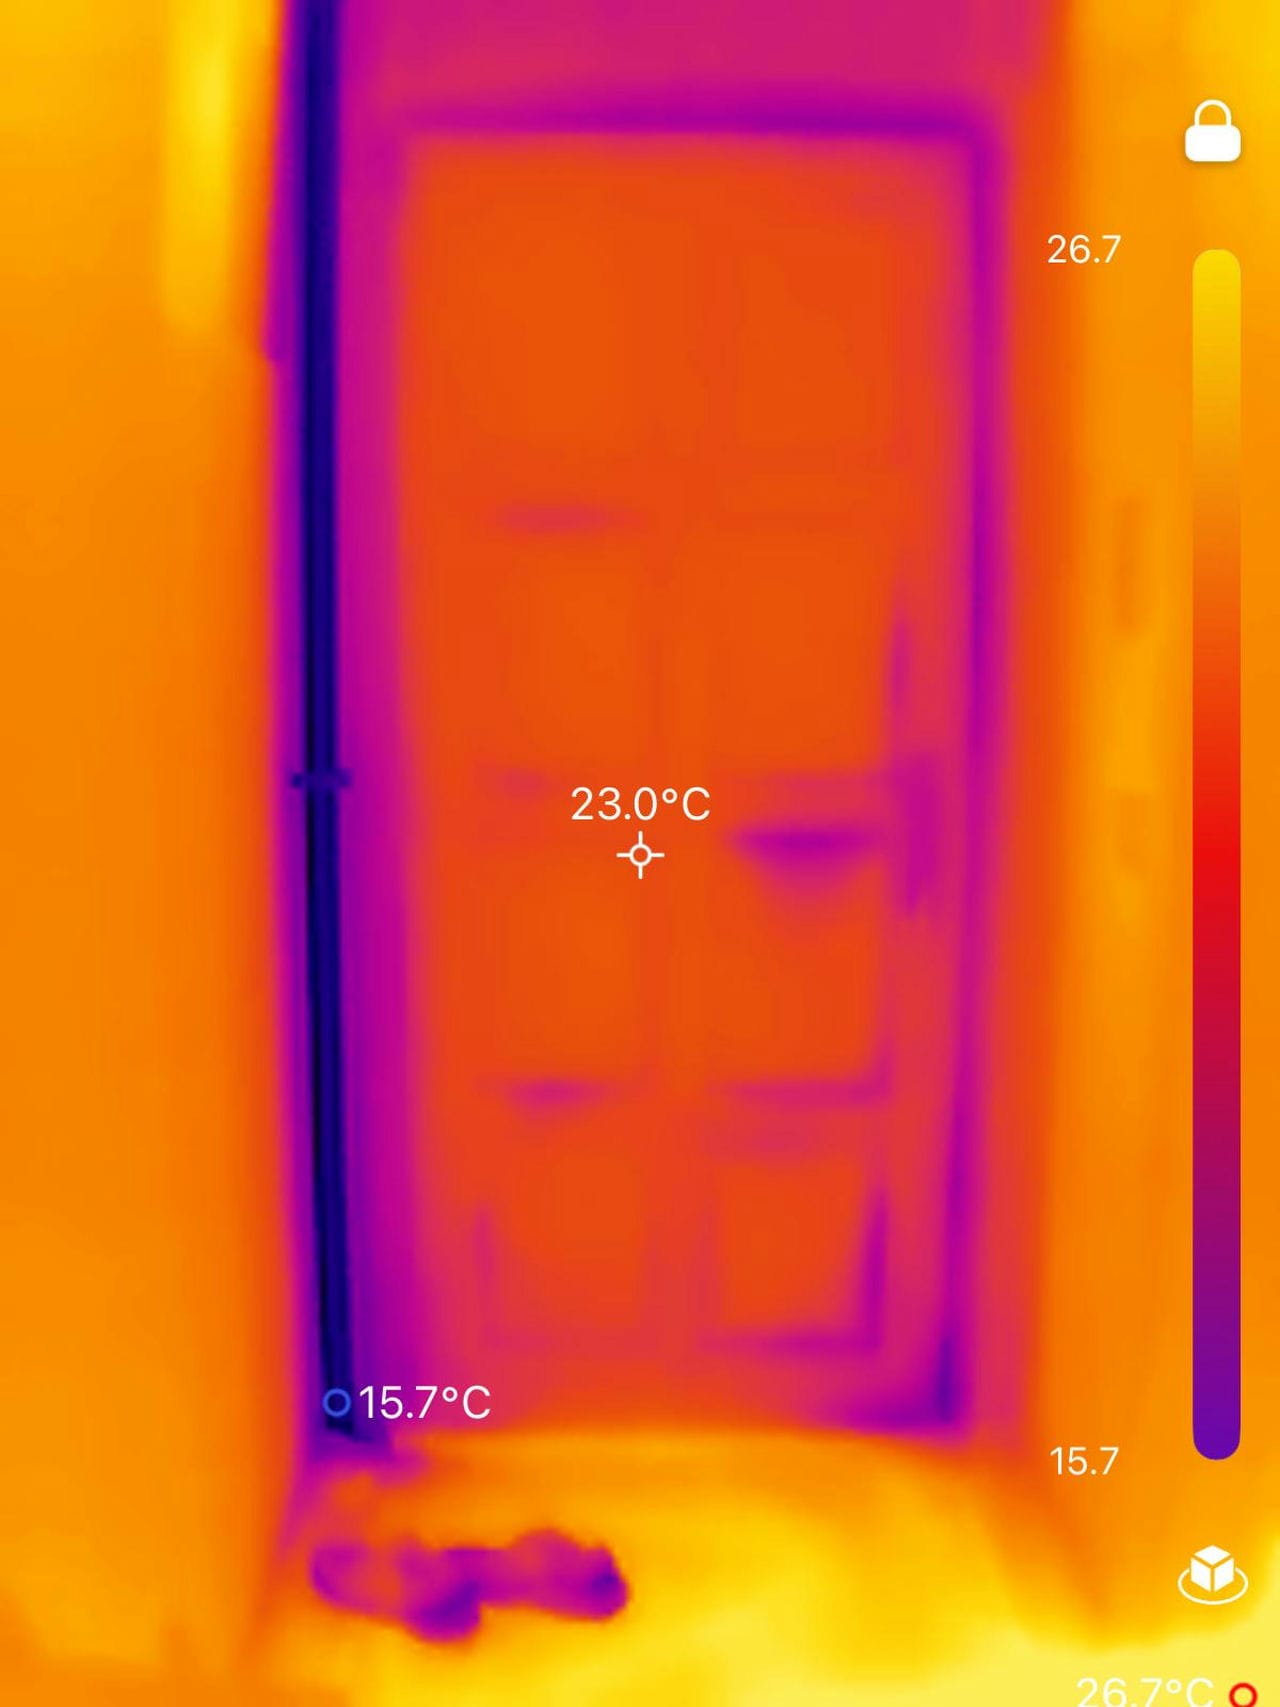
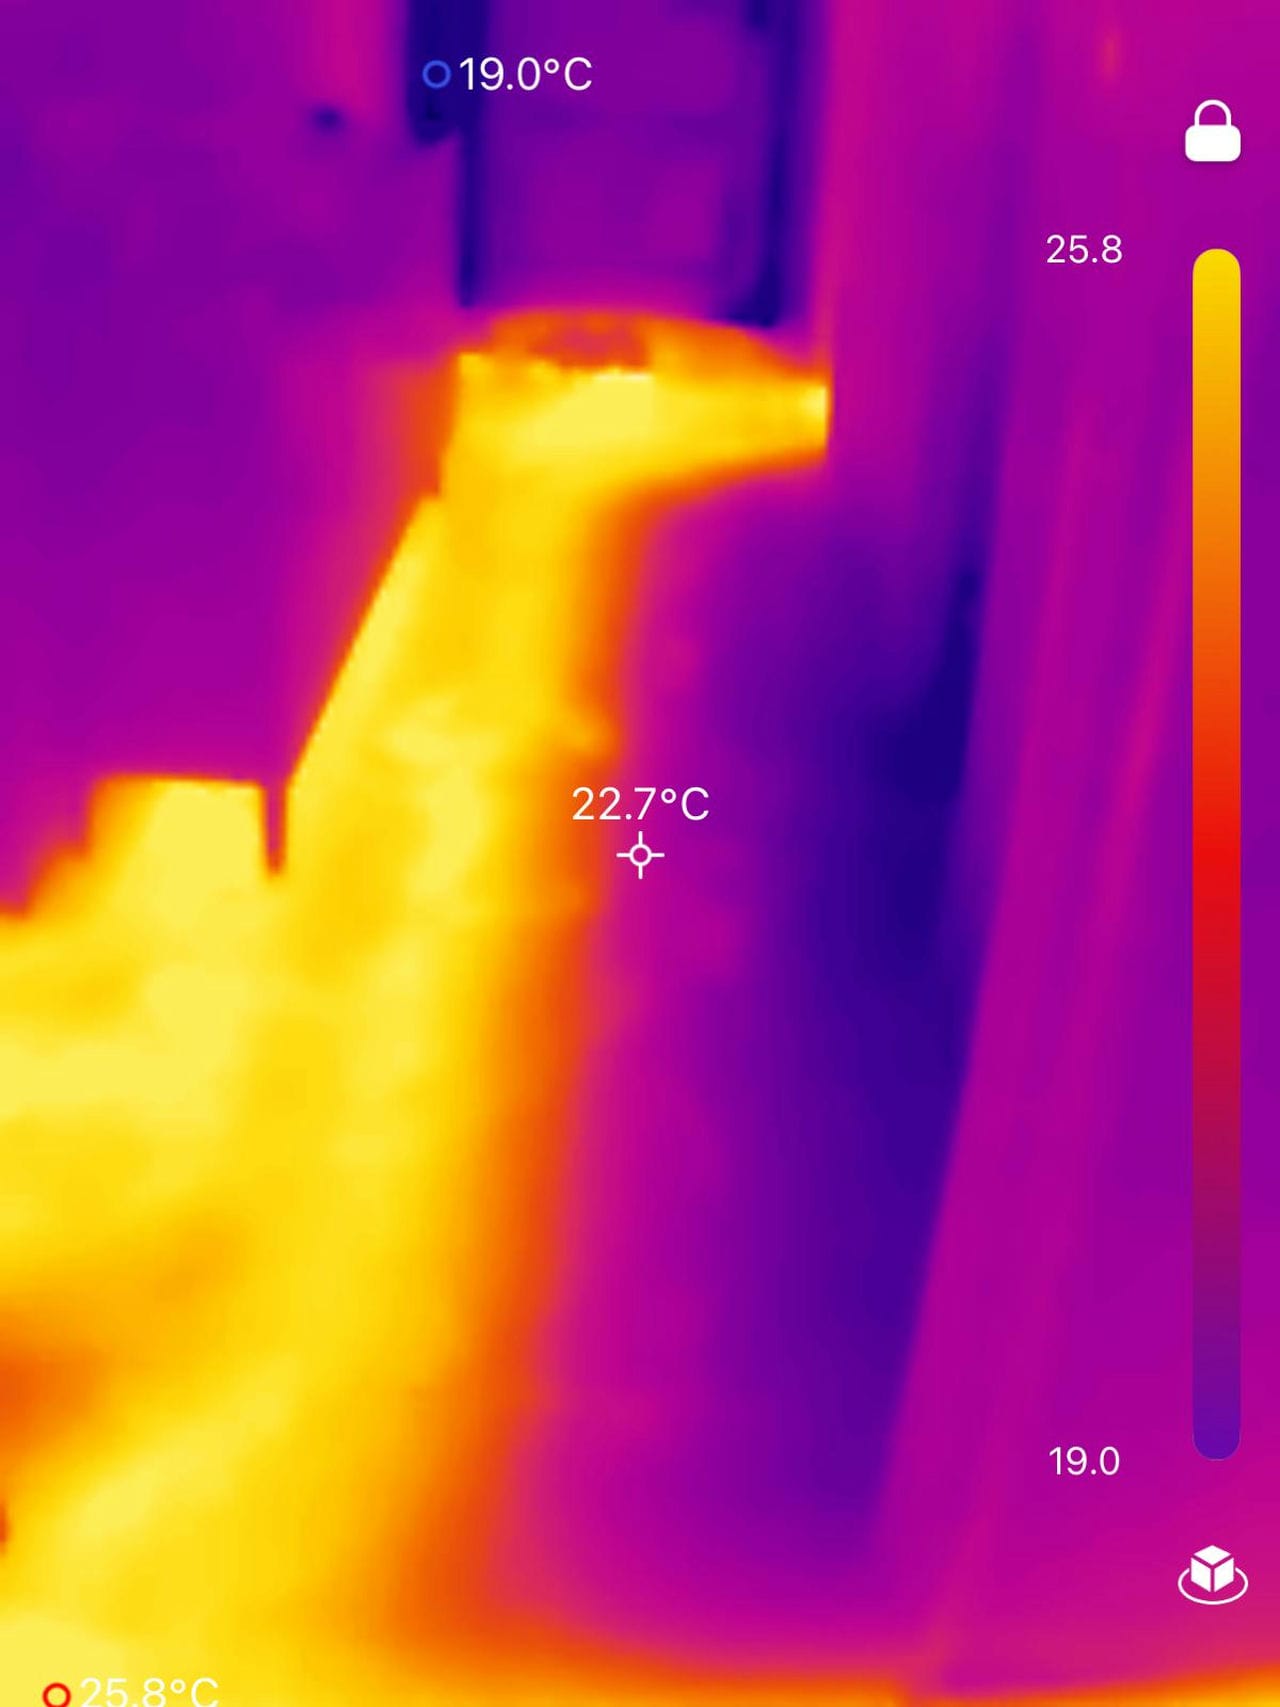
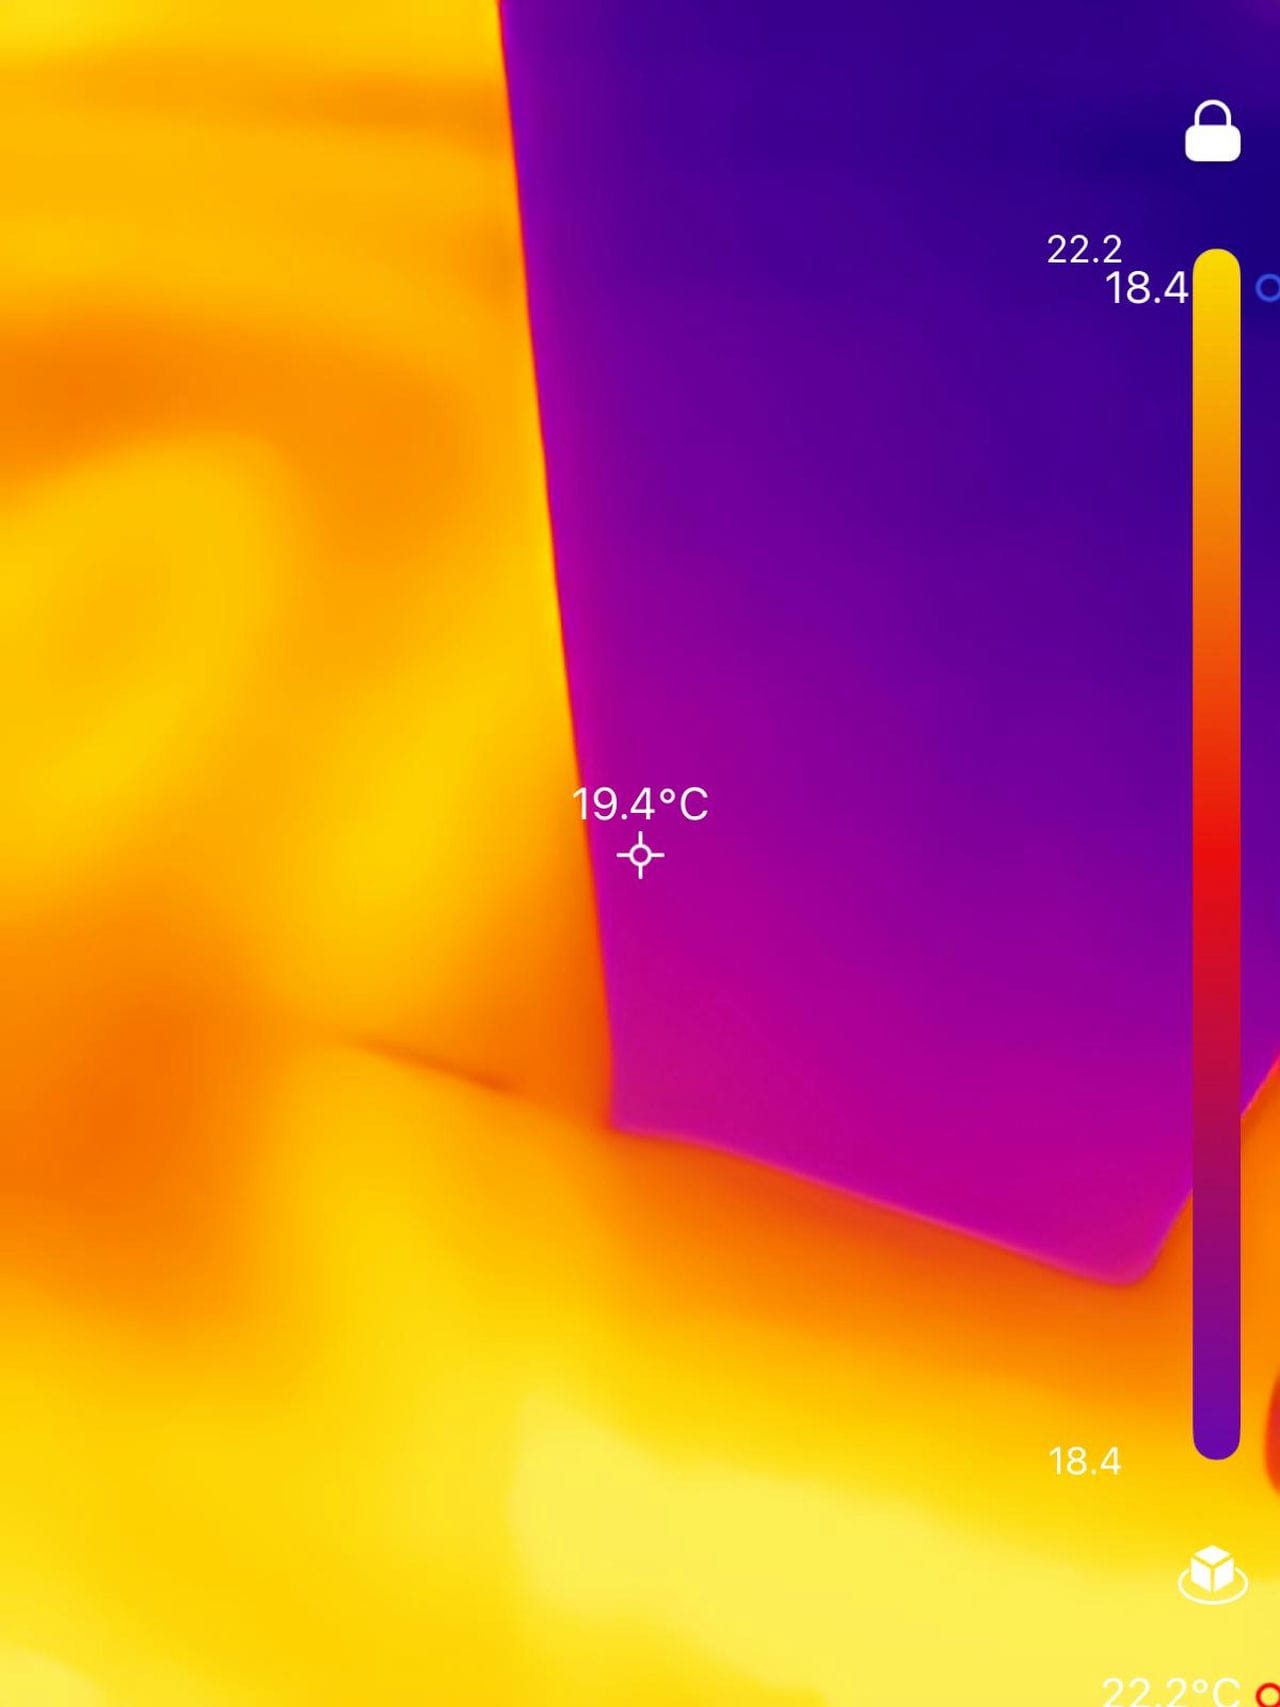
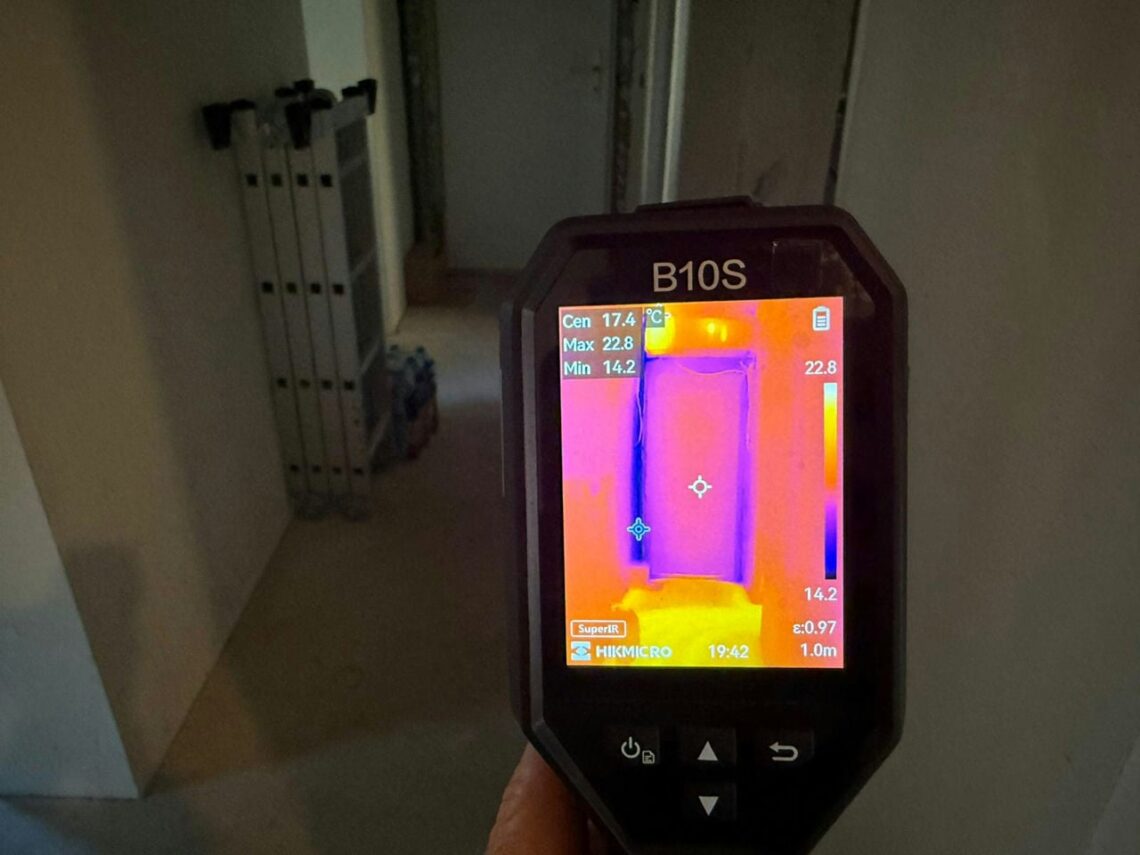
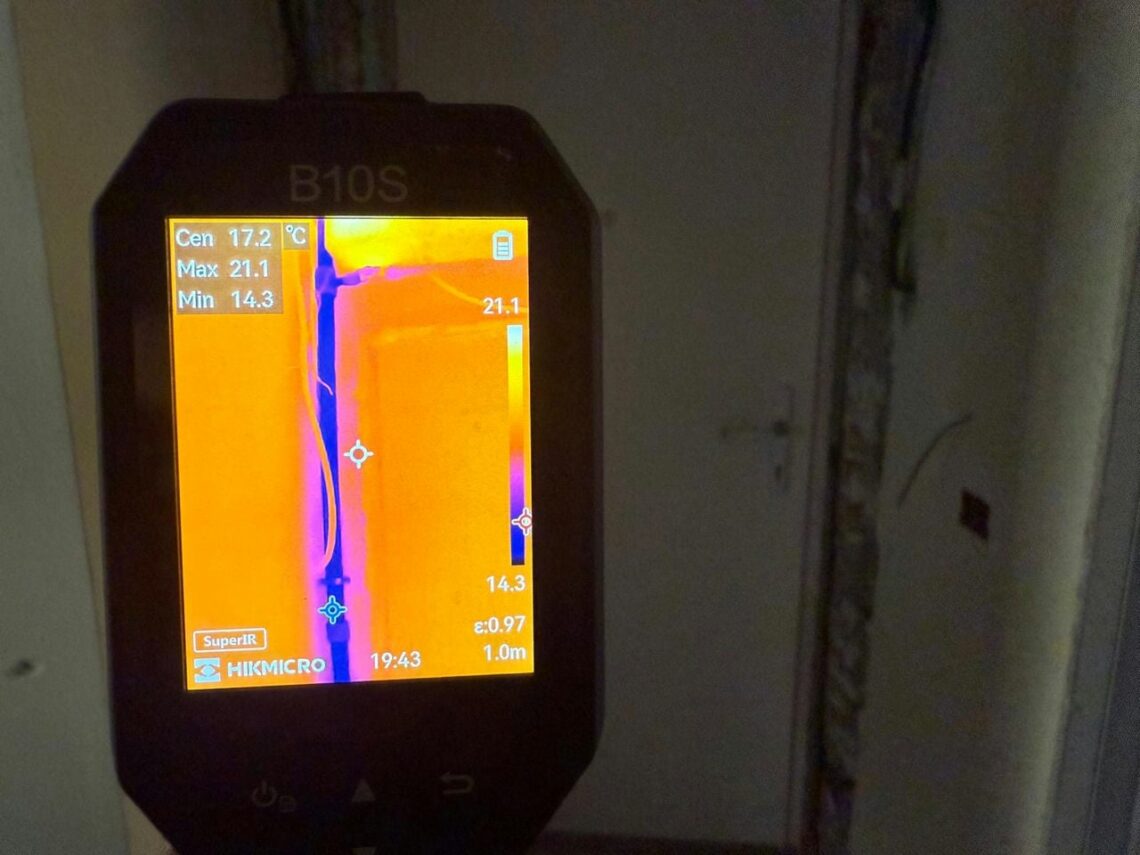
Systematic beats intuitive: work the envelope in order — elevation by elevation outside, room by room inside, ceilings and floors included — rather than wandering toward whatever looks interesting, because the defect that costs the most is routinely the one nobody suspected. Shoot as close to perpendicular as geometry allows, since reading angles steeper than roughly 45 degrees distort both emissivity and pattern; when something anomalous appears on a smooth surface, take the two sideways steps that separate a real pattern from a reflection before believing it. Distance follows the detector: closer resolves smaller defects, and a suspect area earns a second, closer frame.
Interior and exterior passes see different halves of the same building — a defect cold on the inside is warm on the outside in heating season — and the professional standard pairs them. Where air leakage is the question, the camera’s best partner is a blower door: depressurizing the building pulls outside air through every gap and turns faint leak signatures into unmistakable plumes, which is why energy audits run the two instruments together.
Document Like the Report Depends on It
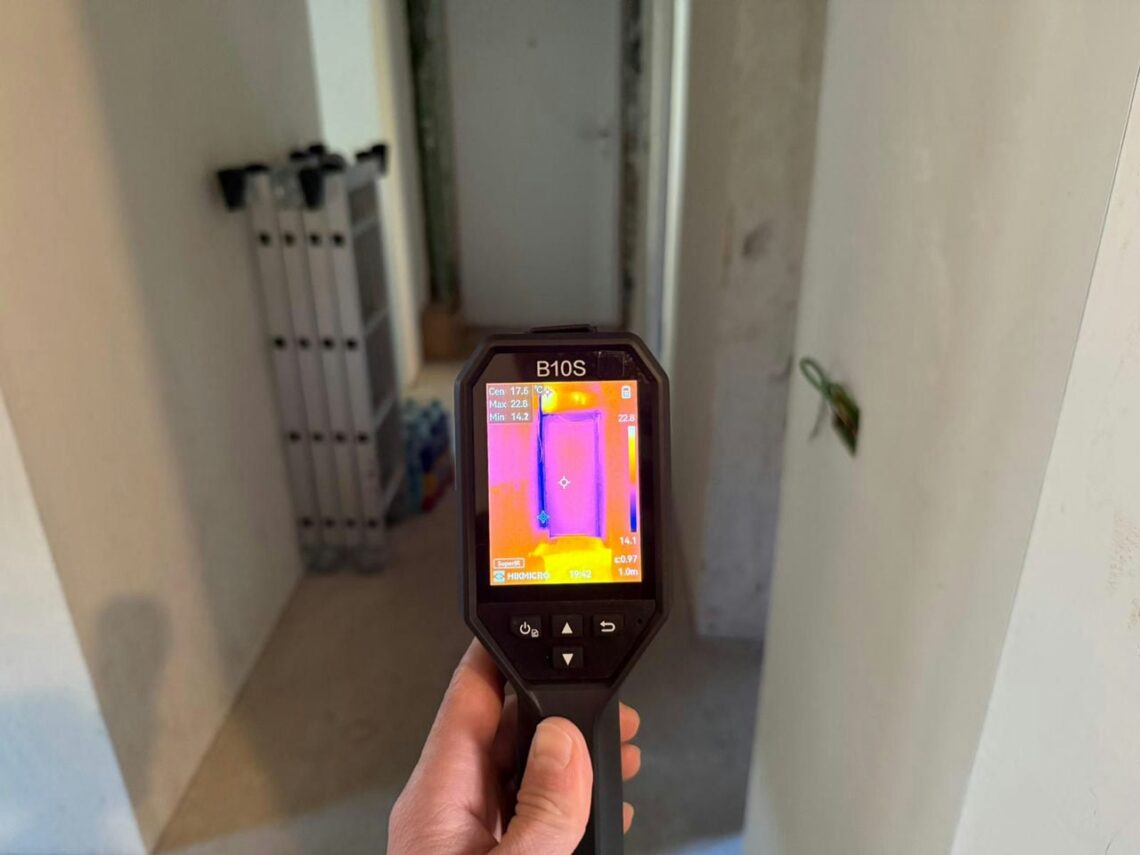
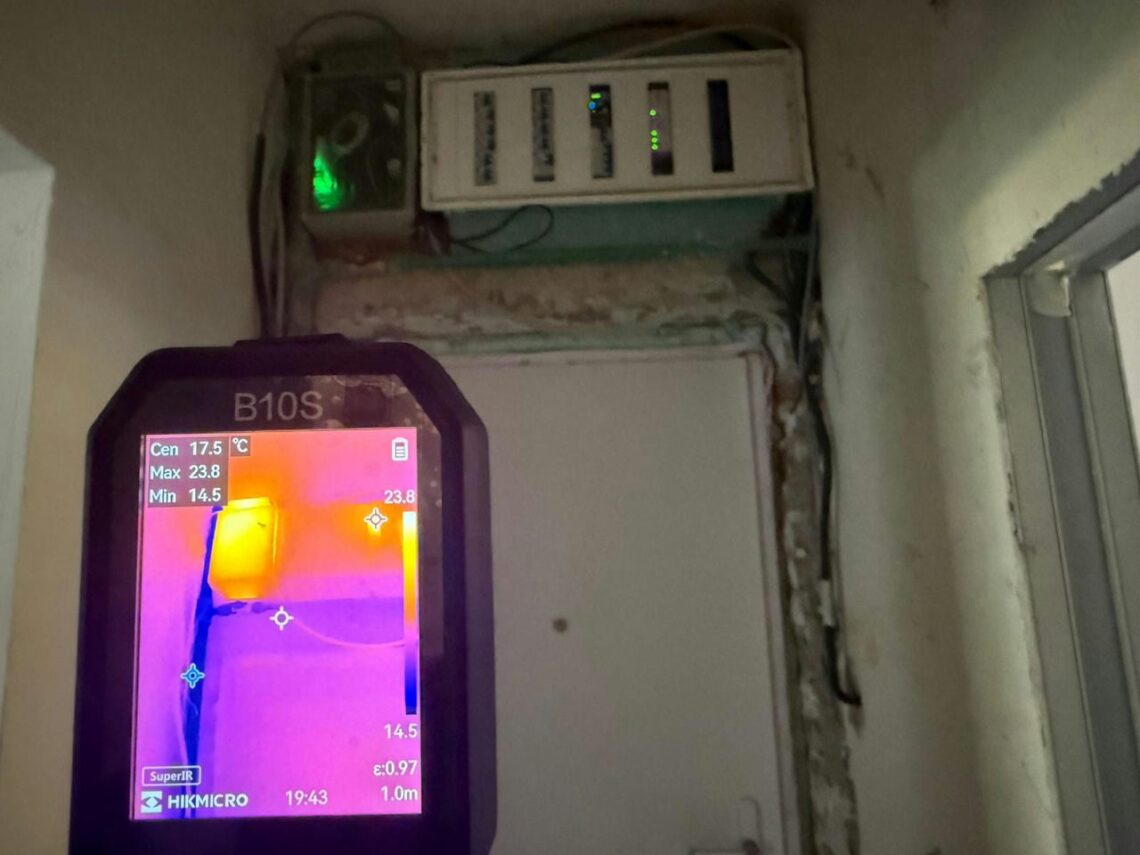
Radiometric capture is the difference between evidence and illustration: a radiometric file stores per-pixel temperatures, so measurements can be re-drawn and re-analyzed at the desk, while a plain image is forever only what the screen showed. Pair every thermal frame with a visible-light photo of the same view — the finding means little if nobody can locate it later — and log what the image cannot: date, time, indoor and outdoor temperatures, weather, wind, and whether the building was pressurized. Findings compared across images demand the locked span from the setup section; two auto-scaled frames are two different stretchings of color, and comparisons between them mislead.
Safety and Scope
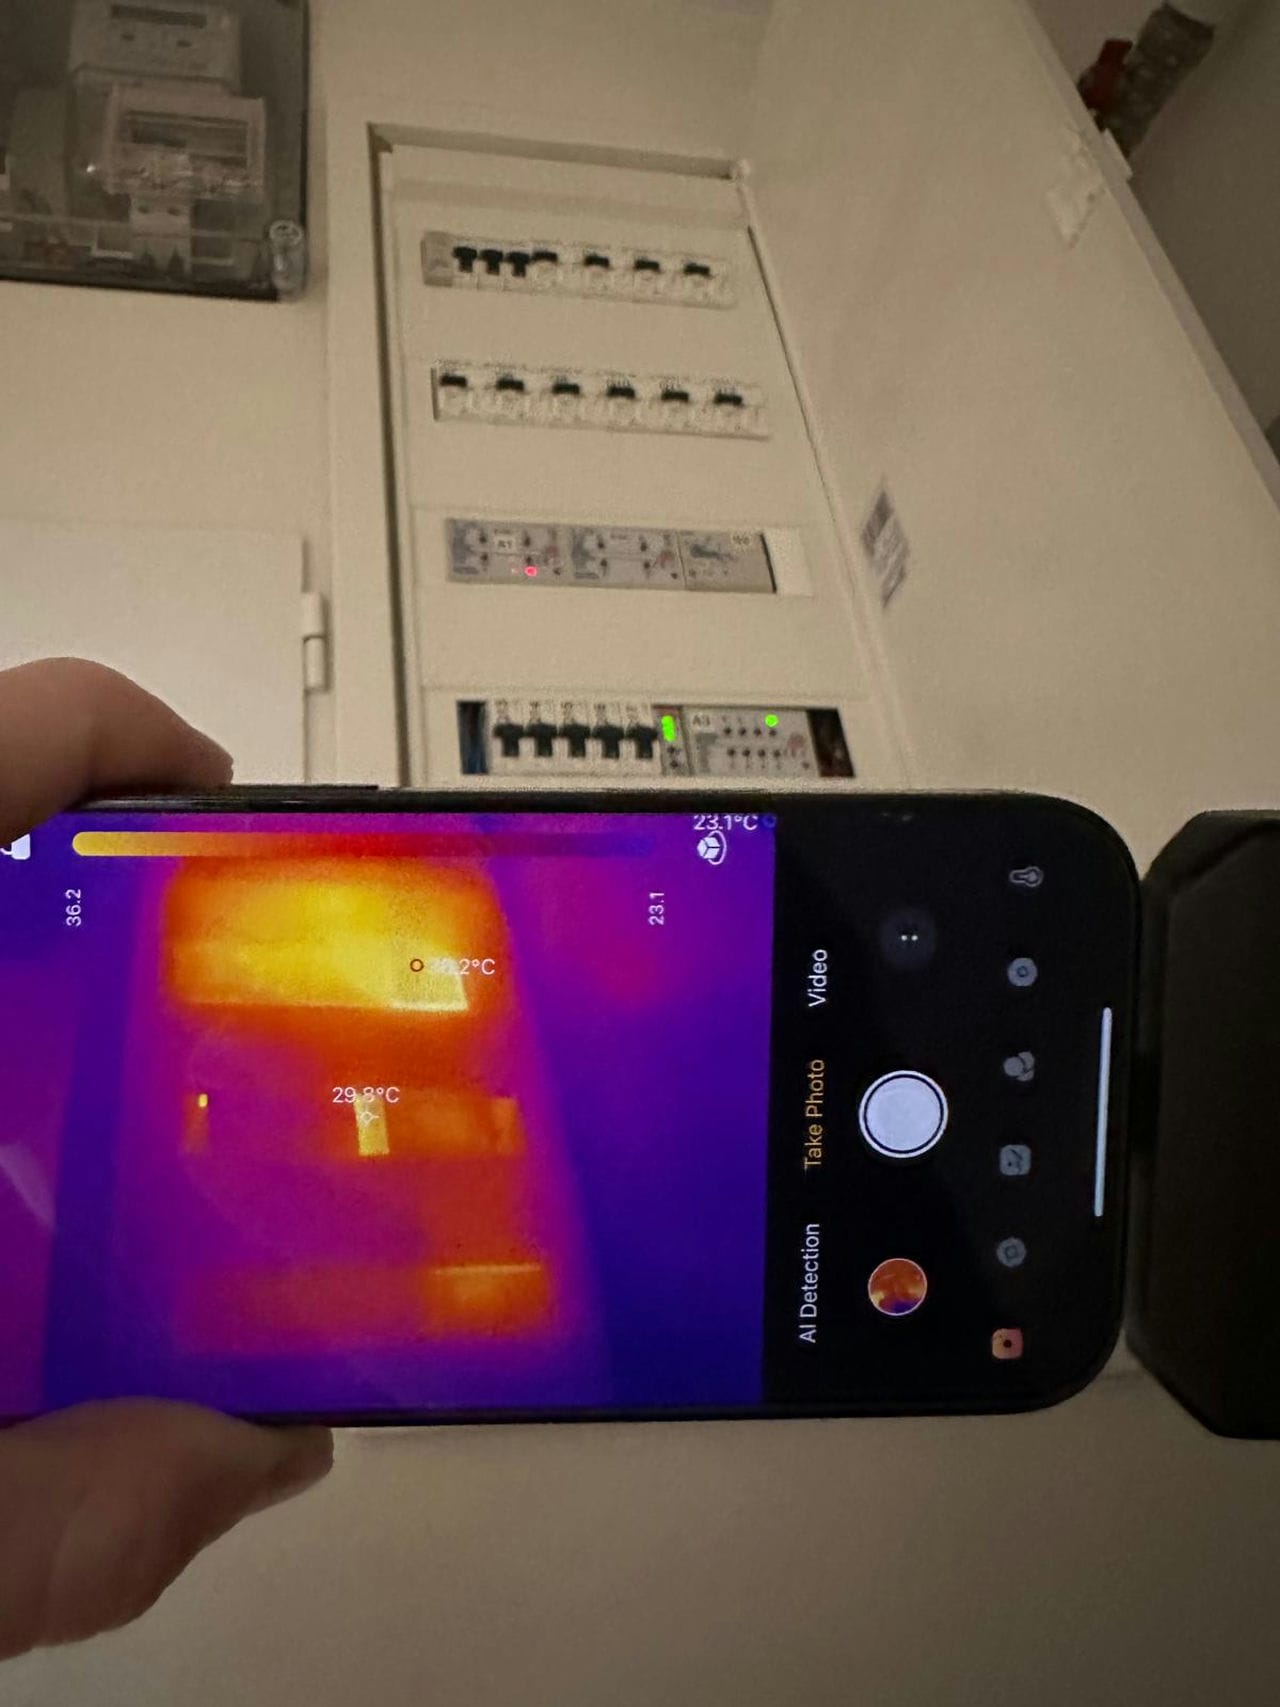
The camera itself is the safest instrument on the job — fully passive, emitting nothing, touching nothing — so the risks are the ordinary ones its use walks into: heights, roofs, attics, and above all electricity. Scanning an electrical panel’s exterior is legitimate; opening energized equipment for a better view belongs to qualified electricians under their own safety rules, and an inspection report should say “elevated temperature at the panel — refer to an electrician” without the camera operator playing one. Know the instrument’s limits the same way: surface temperatures within the tolerances covered in how accurate thermal imaging cameras are, patterns that suggest causes without proving them, and findings that confirming instruments — moisture meters above all — turn from suspicion into fact. Cameras suited to this workflow at every budget are ranked in our roundup of the best thermal imaging cameras.
Frequently Asked Questions
What is the best time of day for a thermal survey?
Pre-dawn for exteriors — the sun’s heating has fully dissipated and the indoor-outdoor difference is typically near its peak. Evening and overcast days work as alternates; midday sun contaminates exterior surfaces for hours and is worth planning around entirely.
What temperature difference do you need for building thermography?
A sustained indoor-outdoor difference on the order of 10 °C (about 18 °F), held for several hours so the structure carries the contrast. Smaller differences shrink every signature; larger ones make the same survey easier and the findings harder to miss.
Do I need a blower door for a thermal inspection?
For insulation defects and thermal bridges, no — the camera alone finds them under good conditions. For air leakage, the blower door transforms the survey: depressurization pulls air through every gap and renders leaks as plumes a camera cannot miss, which is why professional energy audits pair the two.
Can I use a thermal camera on electrical panels?
On the closed exterior, yes — hot spots at breakers and connections read through the panel face well enough to flag problems. Opening energized equipment is qualified-electrician territory; the camera operator’s job ends at “elevated temperature, refer out.”
Are smartphone thermal cameras good enough for building surveys?
For screening — finding the obvious draft, the missing batt, the warm breaker — yes, and they have made the technology genuinely accessible. For reportable inspection work, their lower resolution and sensitivity miss the subtle signatures, and the workflow above assumes a dedicated unit; the roundup linked above covers where the line falls.
Resources
- Manufacturer field guides — survey conditions and camera configuration (Teledyne FLIR, Fluke)
- Building-performance practice literature — blower-door-assisted thermography
- Architecture Lab — What Is Thermal Imaging
- Architecture Lab — How to Read a Thermal Imaging Camera
- Architecture Lab — How Accurate Are Thermal Imaging Cameras
- Architecture Lab — Why Thermal Cameras Work Better at Night
- Architecture Lab — Best Thermal Imaging Cameras

