Blackout curtains can really set the ambiance for your bedroom since they can block out most lights. And thanks to the opacity of the fabric, you get unmatched privacy as well.
But like most fabrics, you may notice unsightly crease marks on the curtain. This usually occurs after extensive usage or if you keep them folded. Thankfully, you can get rid of them by ironing, washing, or letting the curtains hang for a while.
You need to be careful while doing these tasks though, because the color of these blackout curtains can fade away easily. And once that happens, their whole purpose will be defeated.
That is why we have discussed these processes in greater detail below. So, if you are curious, then read on!
How To Get Creases Out Of Blackout Curtains?
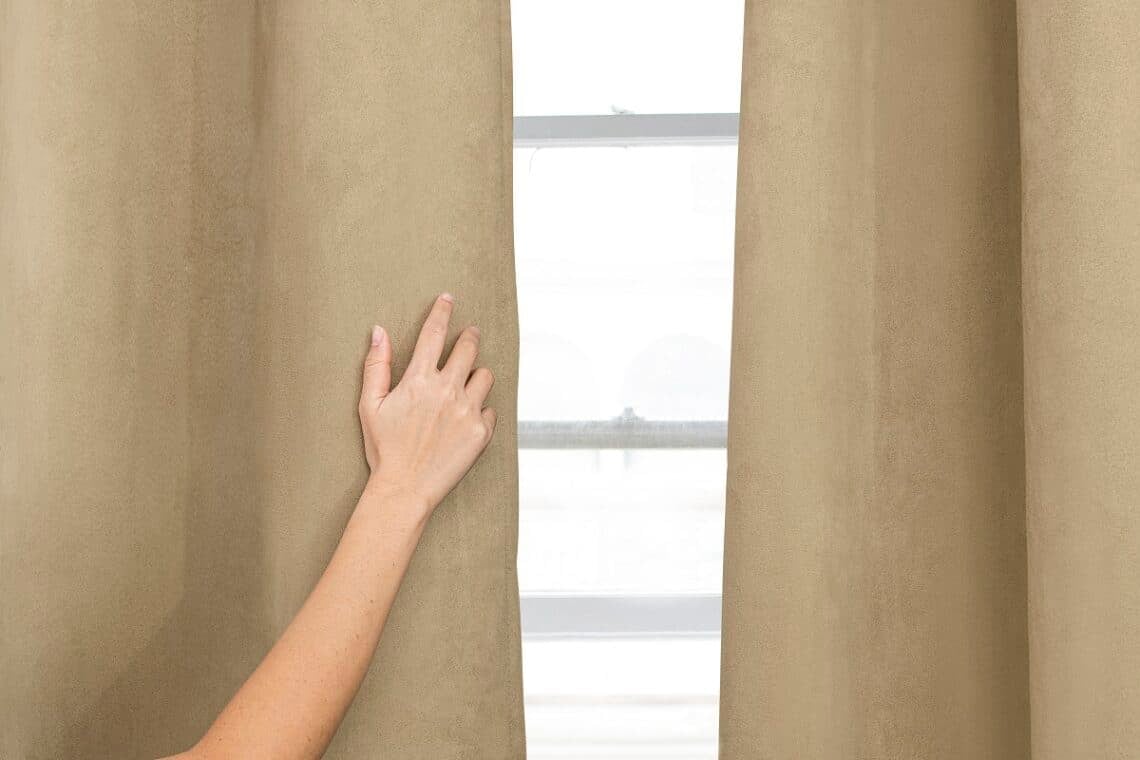
![How To Get Creases Out Of Blackout Curtains? [Tips &Amp; Tricks] 4 Beige curtain home decor, with female hand. How to get creases out of blackout curtains.](https://dev.architecturelab.net/wp-content/uploads/2022/09/How-To-Get-Creases-Out-Of-Blackout-Curtains-2-525x350.jpg)
1. Ironing Or Steaming
The most effective method to remove wrinkles and creases from blackout curtains is to iron them. You can use any regular steam iron or garment steamer for the purpose.
The process that you need to follow has been described below.
Step 1: Warm The Iron
First off, you will need to heat up the iron to the proper temperature. Here, we would suggest that you refer to the maintenance instructions provided by the manufacturer since not all curtains are made from the same material. Some of them require more heat than others to achieve the desired results.
You should fill up the chamber of the steam iron with water and adjust the steam setting before switching on the power supply. In this regard, using garment steamers is probably a good idea since they are gentler on fabric surfaces.
Step 2: Stretch Out The Curtain
Next, you need to stretch out the curtains over a flat and smooth ironing board. If you do not have an ironing board, simply stretch out the curtains over any flat surface, like a table, for instance. In that case, you should ensure there are no irregularities or indentations on the table surface, as that can affect the final outcome.
However, if you are using a garment steamer, there is no need to stretch them out over a table. You can keep the curtains hanging on the rod when you stretch them. Just refrain from applying too much force while they are on the rods, or else they may become dislodged.
Try to stretch the curtain to make it as even as possible. But make sure not to stretch too much, or else the fabric may tear. Once that is done, you can proceed to the next step.
Step 3: Iron The Curtain
Now, it is time to run the iron slowly over the curtain in a uniform manner. While doing so, make sure to press down on the steam button to ensure an even spray of steam throughout the curtain. Carefully run the iron over the curtain either horizontally or vertically, without changing the direction midway.
As you run the iron or the garment steamer over the curtain, gently pull on the fabric to keep the surface even. This will prevent damage to the fabric and ensure the penetration of steam across different layers.
You can run the iron or the steamer repeatedly over a particular section to get rid of stubborn creases. But make sure not to overheat the surface too much, or else the curtain might get damaged. Once done, you should allow the curtain to cool down by letting it sit for a while. You can then repeat this for the opposite side.
2. Washing
This is another method that you can use to remove stubborn wrinkles from your blackout curtains. Just ensure that your curtain fabric is machine-washable.
If it is, then you can safely put them inside the washing machine and let it run for a quick wash cycle. But make sure to set up the wash cycle as per the instructions to avoid any damage.
After the cycle is over, take them out of the machine and hand them out to dry in such a manner that the fabric does not bundle up. If the weather is sunny, you can hang them on a washing line outdoors. Ensure that they are spread out to be as flat as possible so that creases don’t form while drying.
3. Hanging The Curtains
You can simply hang the curtains on your windows and let gravity do its work in taking out the creases. In our opinion, this is the simplest method that you can follow to get wrinkles out of your blackout curtains.
However, the process does take longer, so we recommend going with this method only if you have a lot of time on your hands. You could try to hang them in a humid environment, such as your bathroom, to speed up the process by a bit.
Other Alternatives To Remove Creases Out Of A Blackout Curtain
Besides the ones mentioned above, there are several other methods that you can follow to remove wrinkles from your blackout curtains. These have been discussed below.
1. Wrinkle Release Spray
Using a wrinkle release spray to remove creases is a fairly simple and quick process. Hold the spray bottle approximately 10 inches from the curtain, and spray the mixture uniformly in a vertical manner.
The spray relaxes the curtain fabric, which allows it to straighten up. On that note, we recommend gently stretching the curtain with your hands immediately after spraying to remove some of the more deep-set wrinkles.
2. Dryer
You could also put the curtains in a dryer, provided that you follow all the manufacturer’s instructions on the care tag. Use the recommended heat setting on the dryer, and wash them as per the manufacturer’s guidance. For the best results, we suggest including a damp towel with the curtains during the drying process.
3. White Vinegar And Hair Conditioner
A combination of hair conditioner and white vinegar is pretty effective when it comes to removing creases from curtains. For this process, mix a little bit of water and a tablespoon each of white vinegar and hair conditioner in a spraying bottle.
Then spray the mixture over the curtain evenly while simultaneously stretching the fabric with your hands. Keep spraying until it is just moist enough, and then allow it to dry.
How To Get Creases Out Of Blackout Curtains Frequently Asked Questions ?
Can you wash blackout curtains with fabric softeners?
Fabric softeners are relatively effective at removing wrinkles from curtains. But we would not recommend using them to wash your blackout curtains unless it is explicitly mentioned in the care instructions. This is because the chemical composition of the fabric softener may cause discoloration or degradation of the fabric, especially if you wash it in a machine.
Can you use dry iron for removing creases from blackout curtains?
Yes, you can use a dry iron to remove wrinkles from your blackout curtains. However, it won’t be as effective as steam iron, so you might need to run it over the curtains multiple times. Even then, it might not be able to remove some of the more stubborn wrinkles.
How to combine sheer and blackout curtains?
To get the perfect ambiance for your bedroom, learning how to combine sheer and blackout curtains is a great idea. You should place the sheer curtains on the outer side, towards the window glass. Conversely, the blackouts should be in the interior of the room. That way, you can remove the blackouts during the day to allow light inside the room.
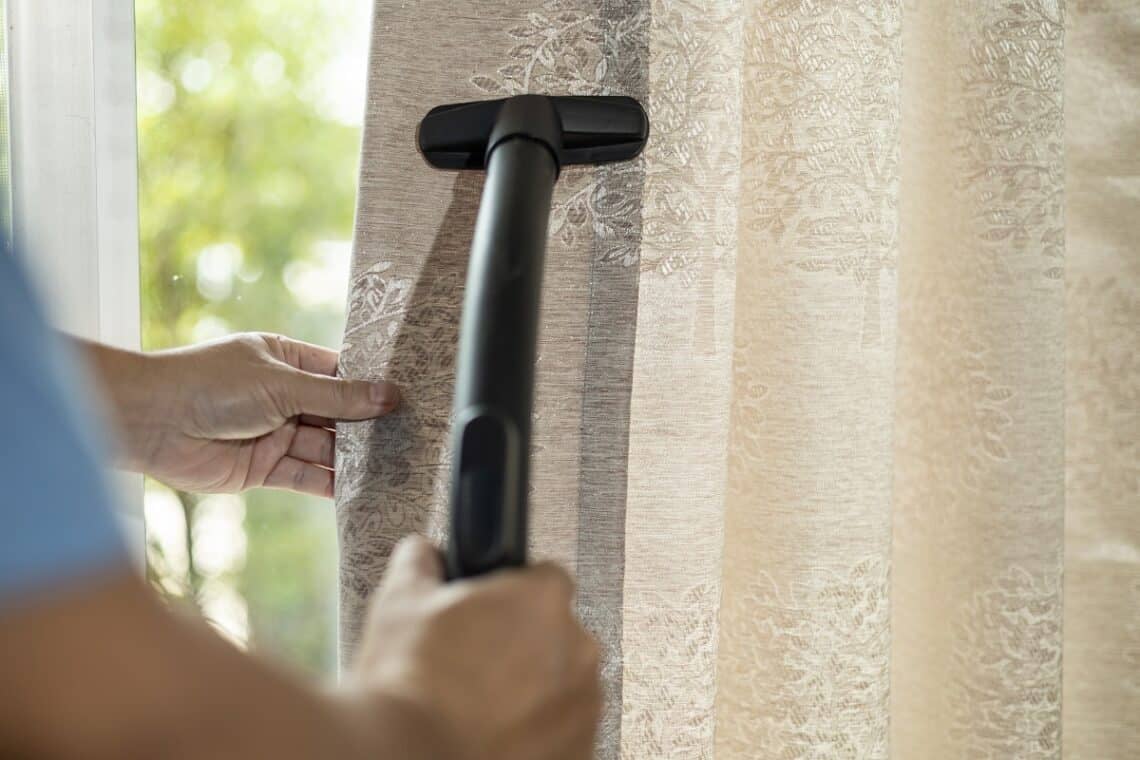
![How To Get Creases Out Of Blackout Curtains? [Tips &Amp; Tricks] 5 Man dry cleaning curtain with vacuum cleaner. In living room at home. How to get creases out of blackout curtains final words.](https://dev.architecturelab.net/wp-content/uploads/2022/09/How-To-Get-Creases-Out-Of-Blackout-Curtains-3-525x350.jpg)
How To Get Creases Out Of Blackout Curtains Final Words
There is no doubt about the aesthetic appeal of blackout curtains, which is why it is highly recommended by interior design professionals. Plus, it keeps prying eyes away and allows you to take quick daytime naps, so it’s a win-win.
But random crease marks and wrinkles can make it look unkempt and dirty, which in turn, will destroy the whole vibe of your bedroom. So, if you are facing such a problem, you will find the information we have provided in this guide to be quite handy.
Follow our instructions and getting even the toughest creases out of your curtain will become a breeze. And it won’t take very long either, so your curtains will be back on your windows in no time.
With that said, we have now arrived at the end of this brief guide. We will be back with more informative updates in the future.
Want to know about more DIY projects? Checkout our next article on mounting dual monitor stand on glass desk. Surprisingly, mounting stands on glass is really a good choice, but you should decide after going through the article.
Until then, we bid you farewell!


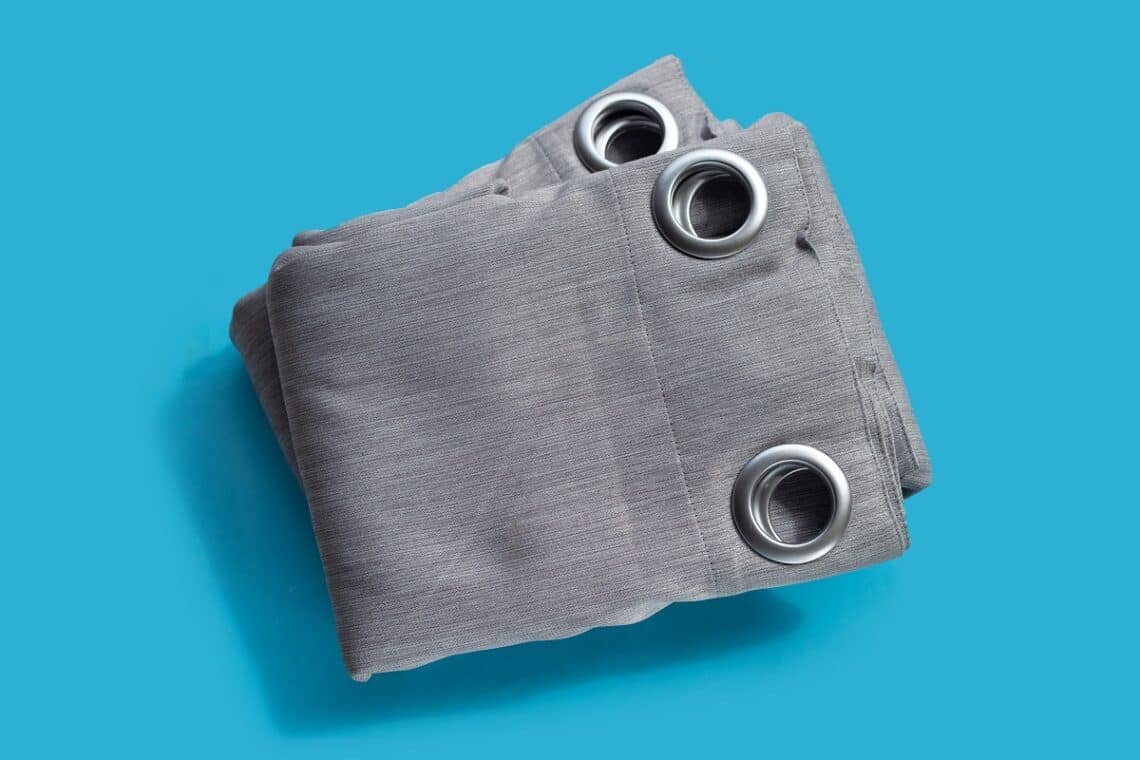
![How To Get Creases Out Of Blackout Curtains? [Tips &Amp; Tricks] 1 Grey curtains door or window, room decoration interior. How to get creases out of blackout curtains.](https://dev.architecturelab.net/wp-content/uploads/2022/09/How-To-Get-Creases-Out-Of-Blackout-Curtains-1.jpg)